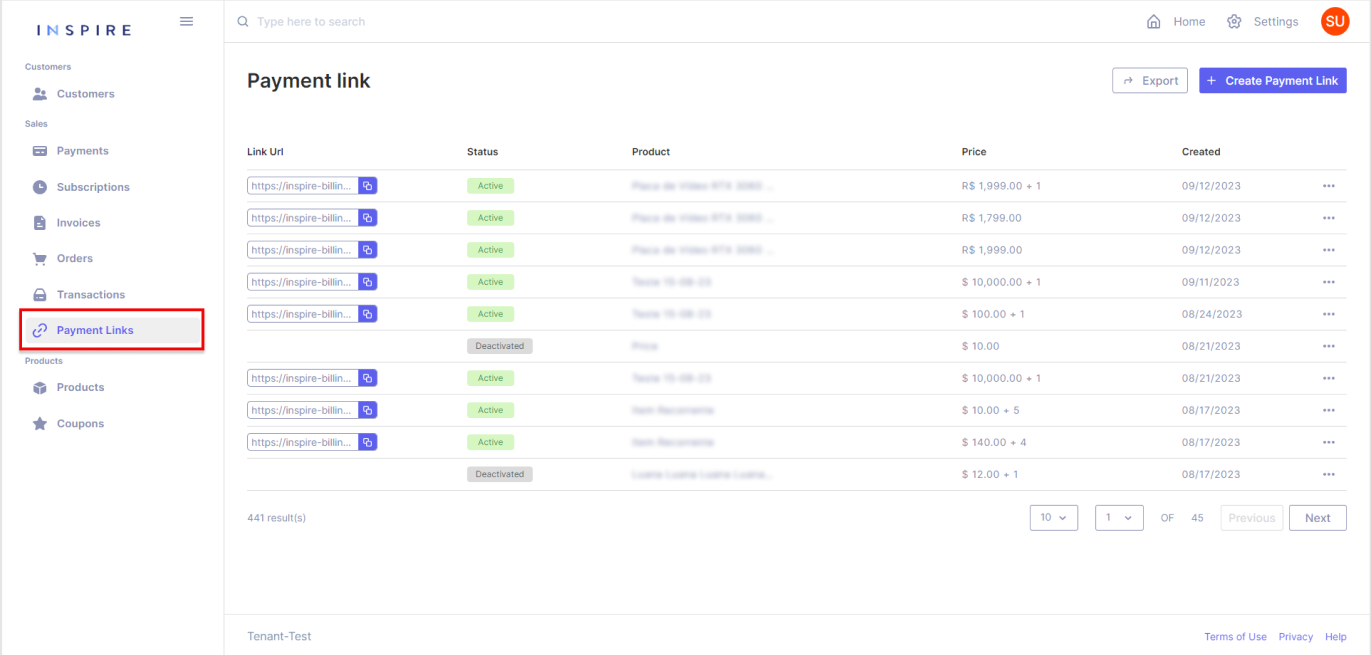
Listing Payment Links
When logging into the Tenant platform, the User will have access to a list with all the Payment Links that have ever been created on Inspire. To access the Payment Link list, the user just has to click on "Payment Links" on the side menu.
The Payment Link list is unified (does not have tabs), but there are two very important things:
- The User is able to copy active Payment Links directly from the list by clicking on the blue icon next to each Link URL.
- A Payment Link may contain one, multiple, or no Products. When the Payment Link does not have Products, it is called a "Price-only" Payment Link and it will have "Price" listed in the "Product" column. For Payment links that have multiple Product Prices, in the column "Price" the Customer will be able to see the first added Product Price with a "+ X", where "X" is the number of other Product Prices in the payable through that link:
On the list of Payment Links, there are a few items that to be brought attention to:
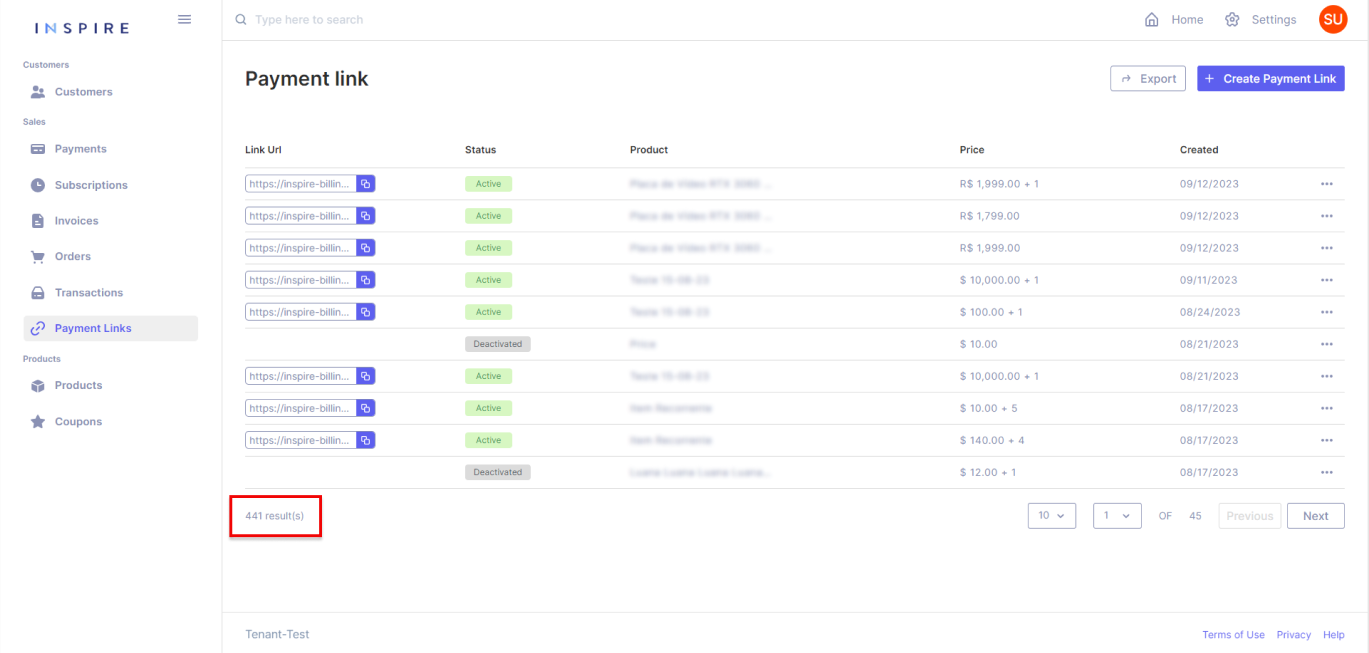
Counting Payment Links
At the bottom of the list, it is possible to see how many Payment Links have been created in total:
Searching Payment Links
On the top of the list, on the search bar, it is possible to search for a Payment Link throughout the whole list, starting from three characters:

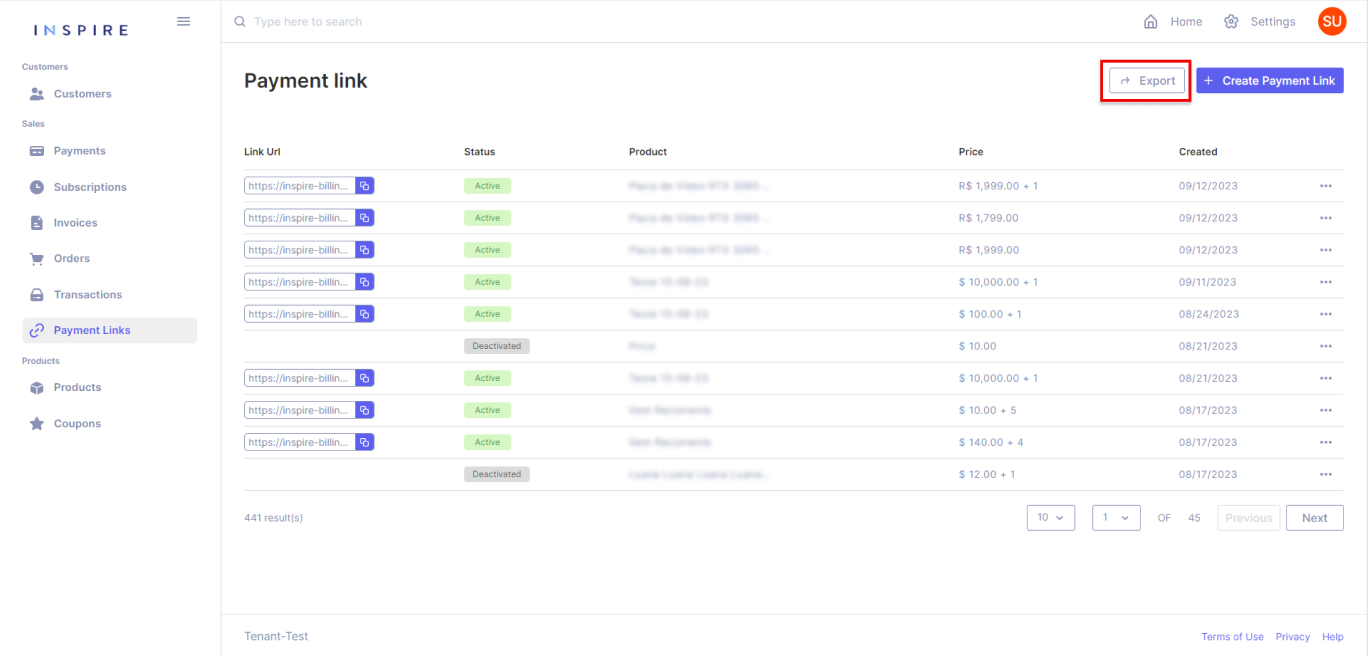
Exporting Payment Links
On the top right corner, the User has the option to export the current list of Payment Links into a .xls file. It is important to mention that only what is on the User's screen will be exported:
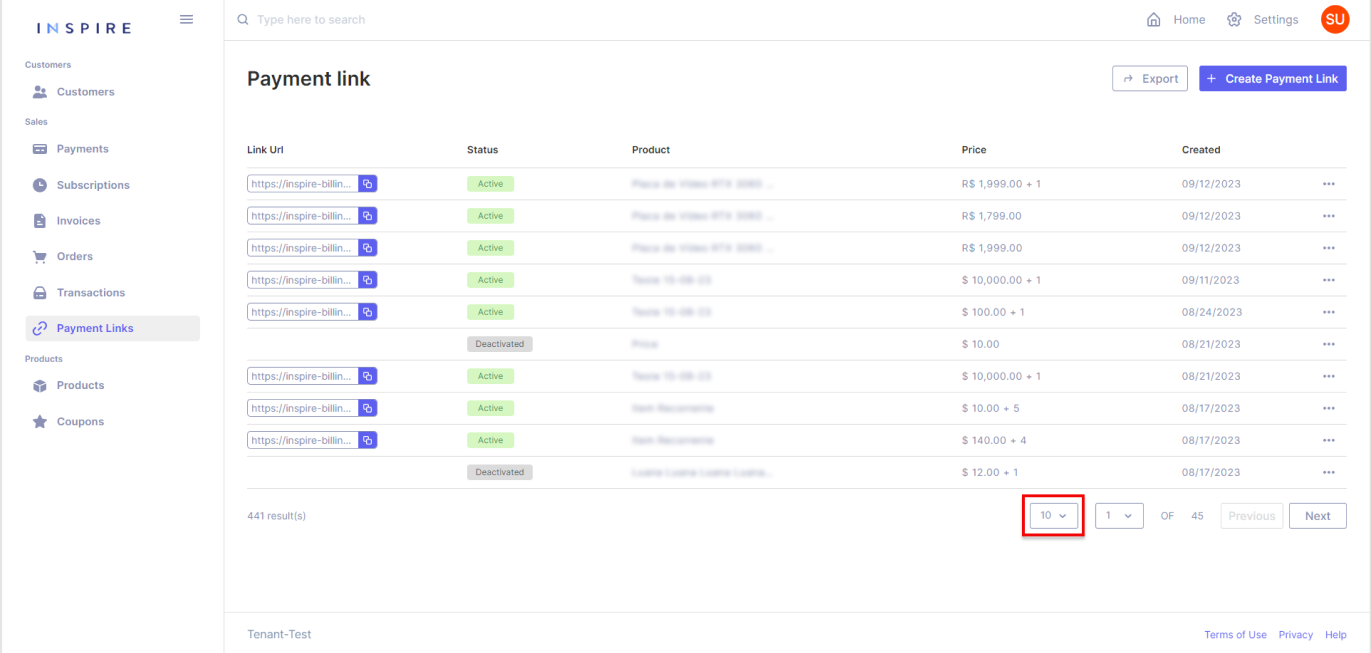
Paginating Payment Links
On the right bottom corner, the User has all the options for pagination from the Payment Link list. The first dropdown is to pick the number of Payment Links being displayed per page. The User has the options "10", "20", "50" and "100", "10" being the default number:
Next to the dropdown of the number of Payment Links per page, the User also has another dropdown to assist in moving through the page from the Payment Link list. Also, the User can see the total quantity of pages there are on the list:
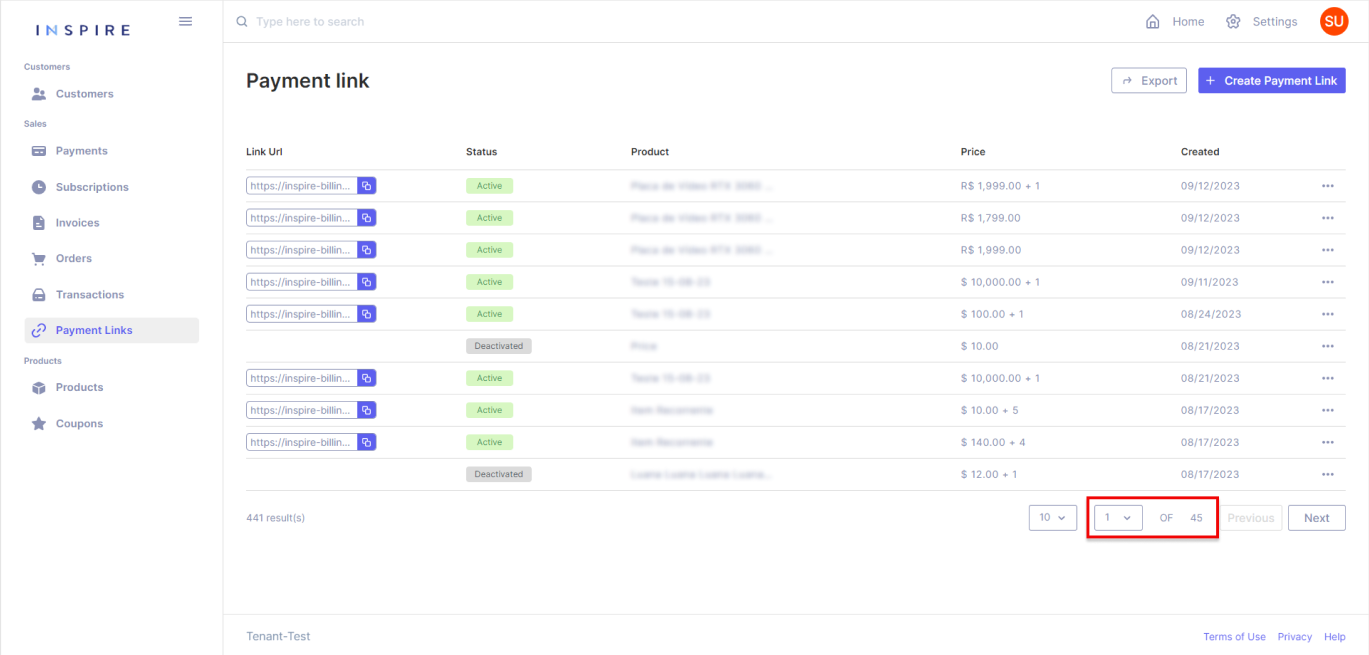
Besides the dropdown of pages, the User can also use the buttons "Previous" and "Next" to move between pages. By using those buttons, the User will only move one page forward by clicking on "Next" and one page backward by clicking on "Previous":

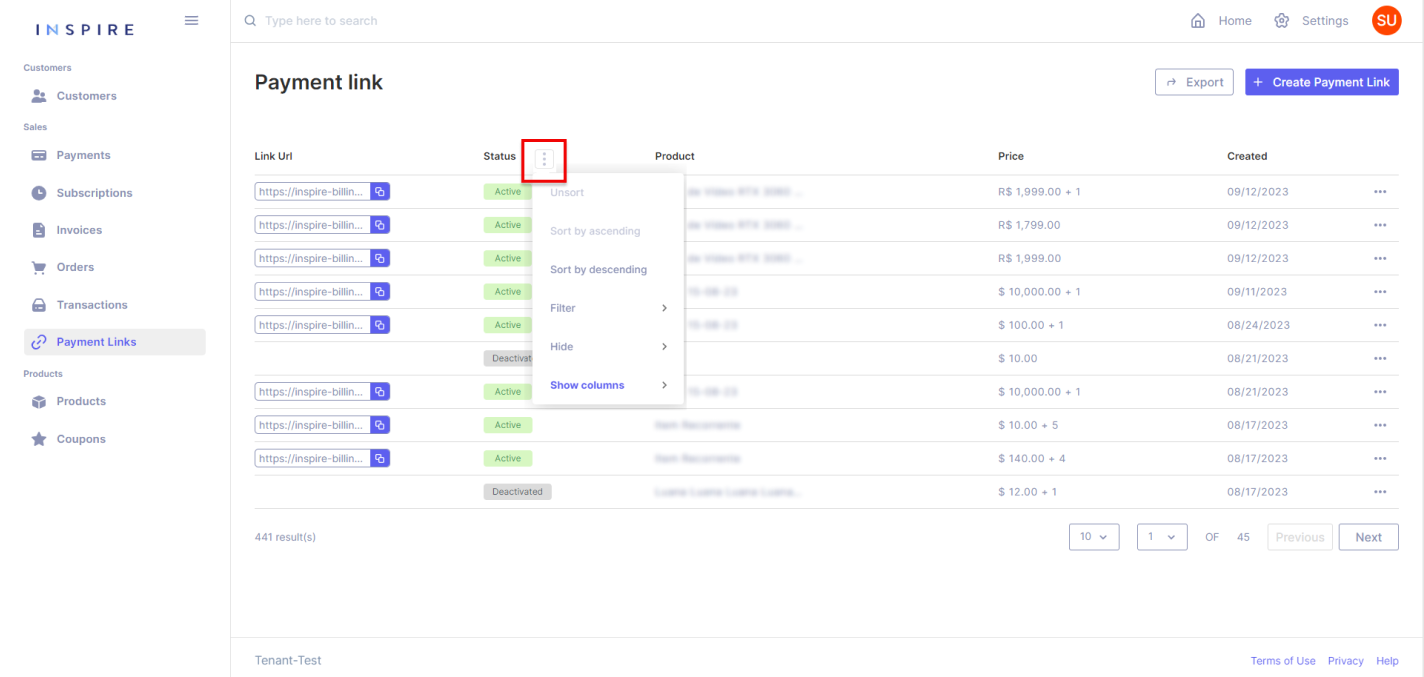
Filtering Payment Links
In addition, the User also has options to filter, change the ordination of the list, and hide different columns by hovering over a column and then clicking on the three-dotted menu that appears:
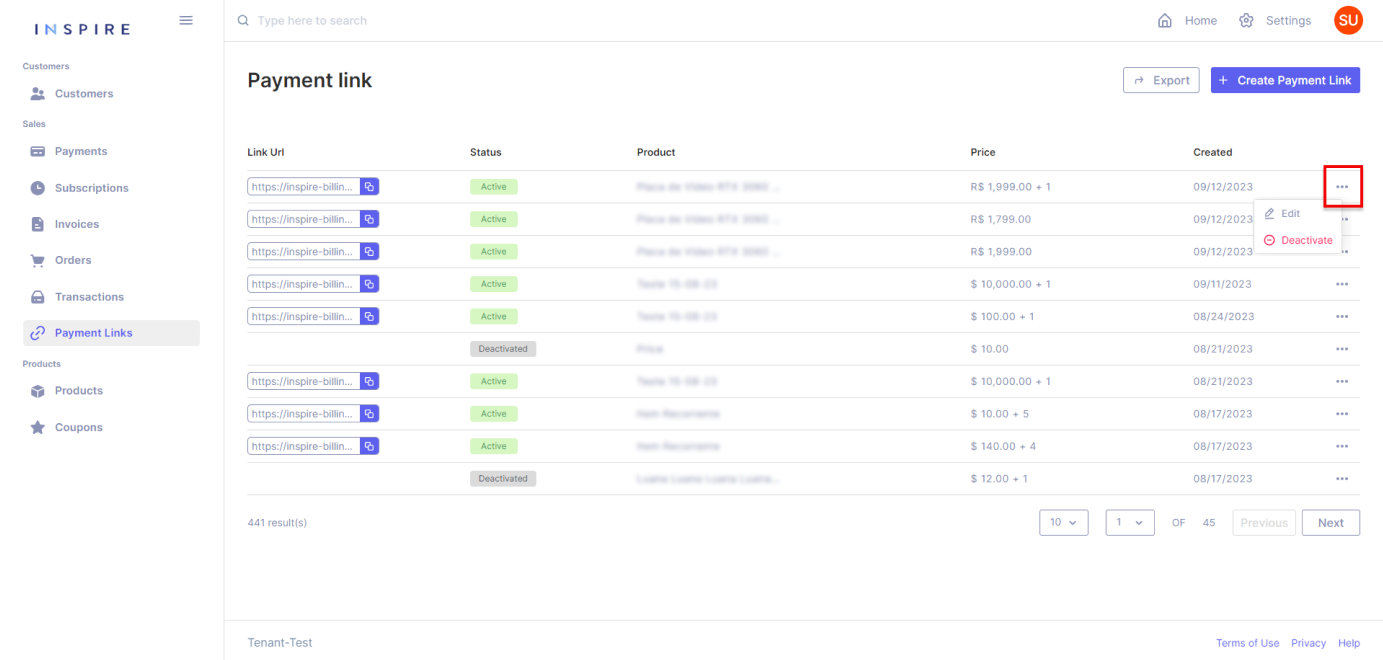
More Options
Also, directly from the list of Payment Links the User also has the option to edit and deactivate each Payment Link at the three-dotted menu at the end of each entry:
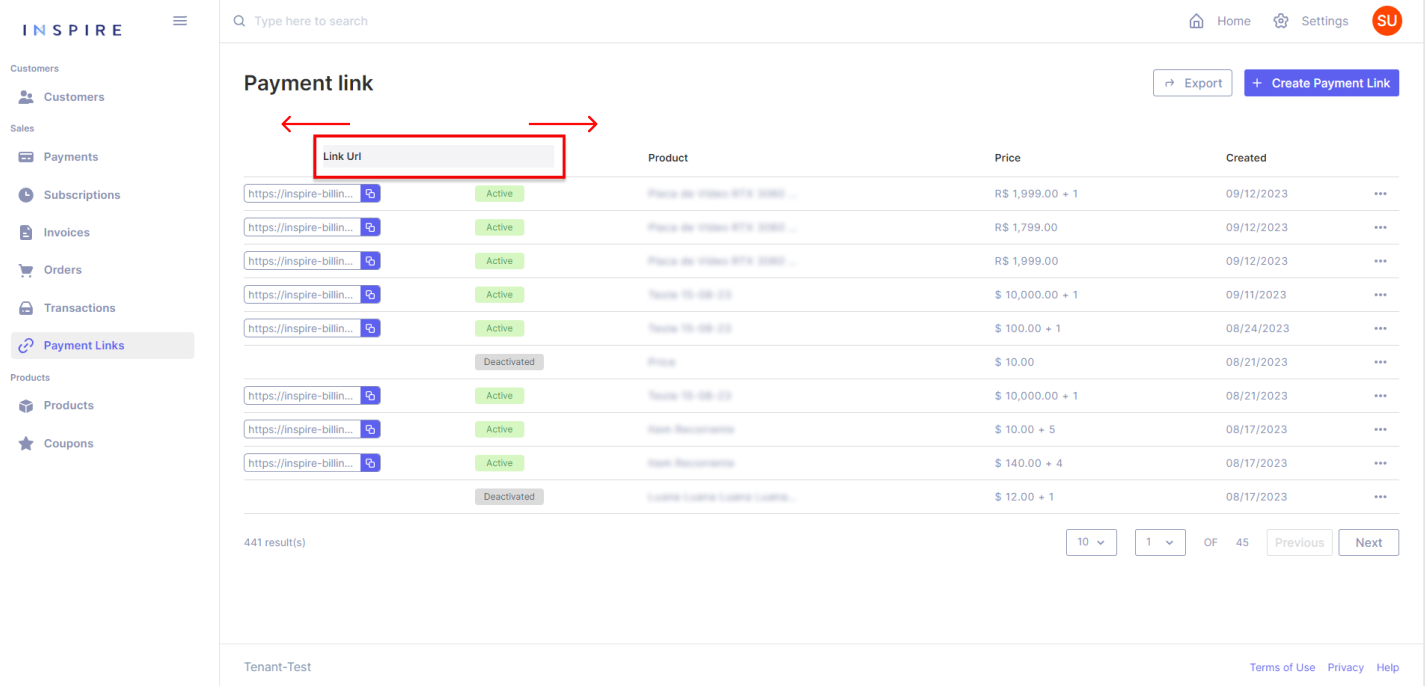
Last but not least, the User can also move any of the columns around to arrange the list how they best see fit:
Updated 11 months ago